Repowering – how to check if your PV system needs an update
Many older photovoltaic systems are no longer efficient - even the most durable modules eventually wear out. In addition, technological developments have made modern modules much more efficient than older models. You can take advantage of this. But how? The answer is repowering. What does it mean and how can you determine the need for repowering? We explain in this article.
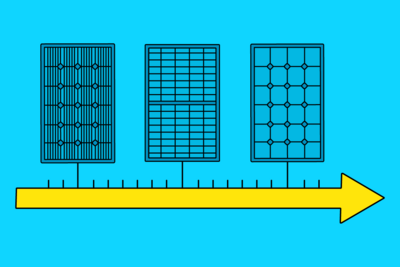
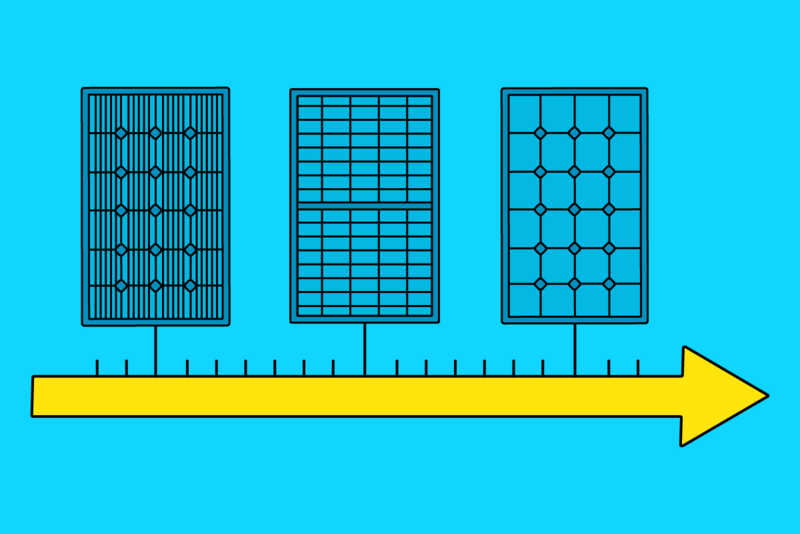
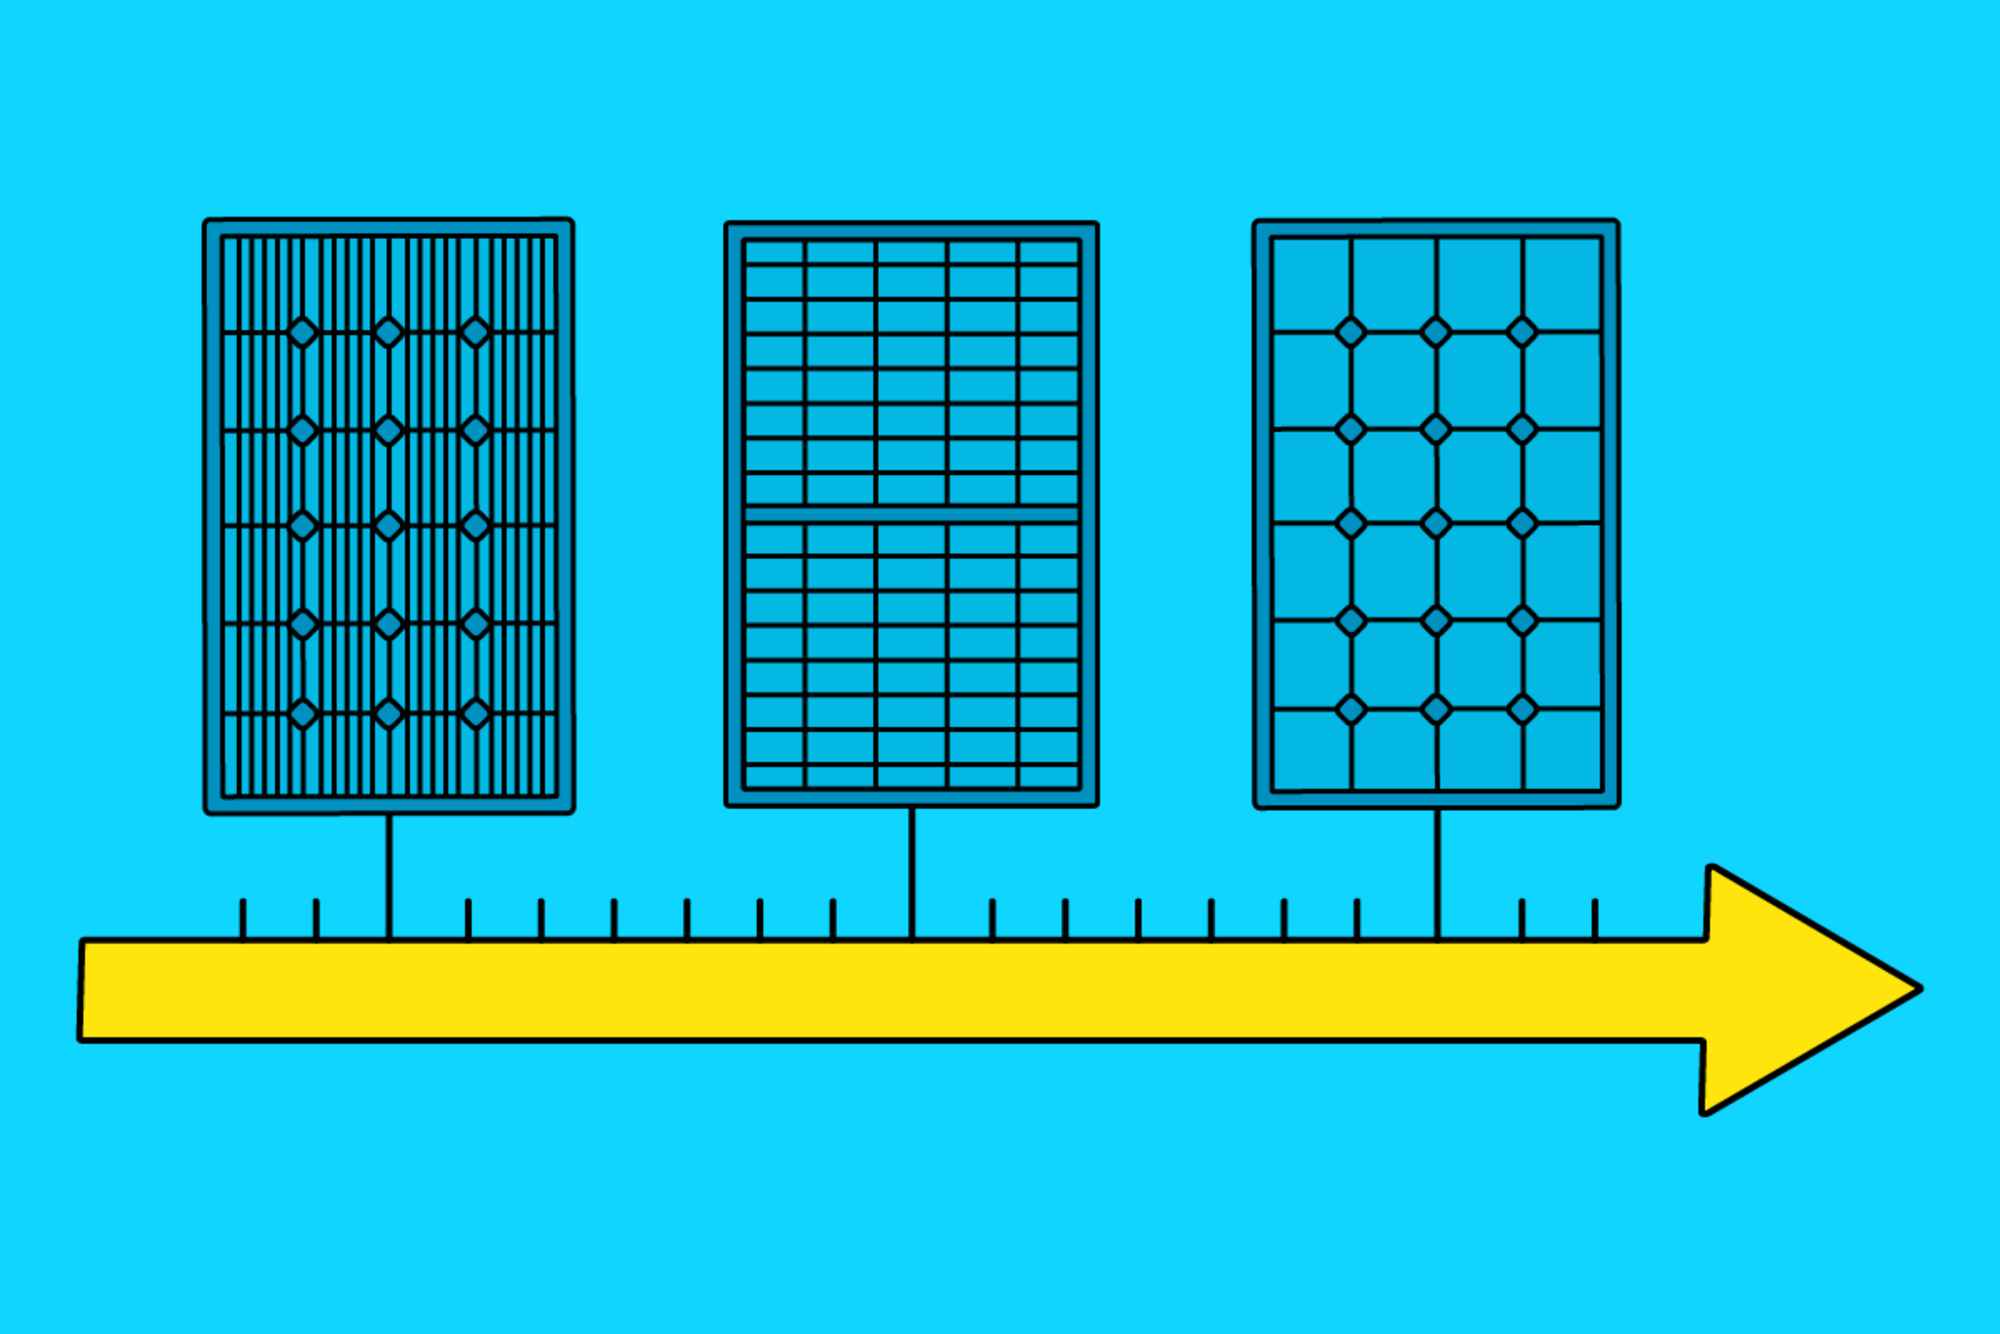
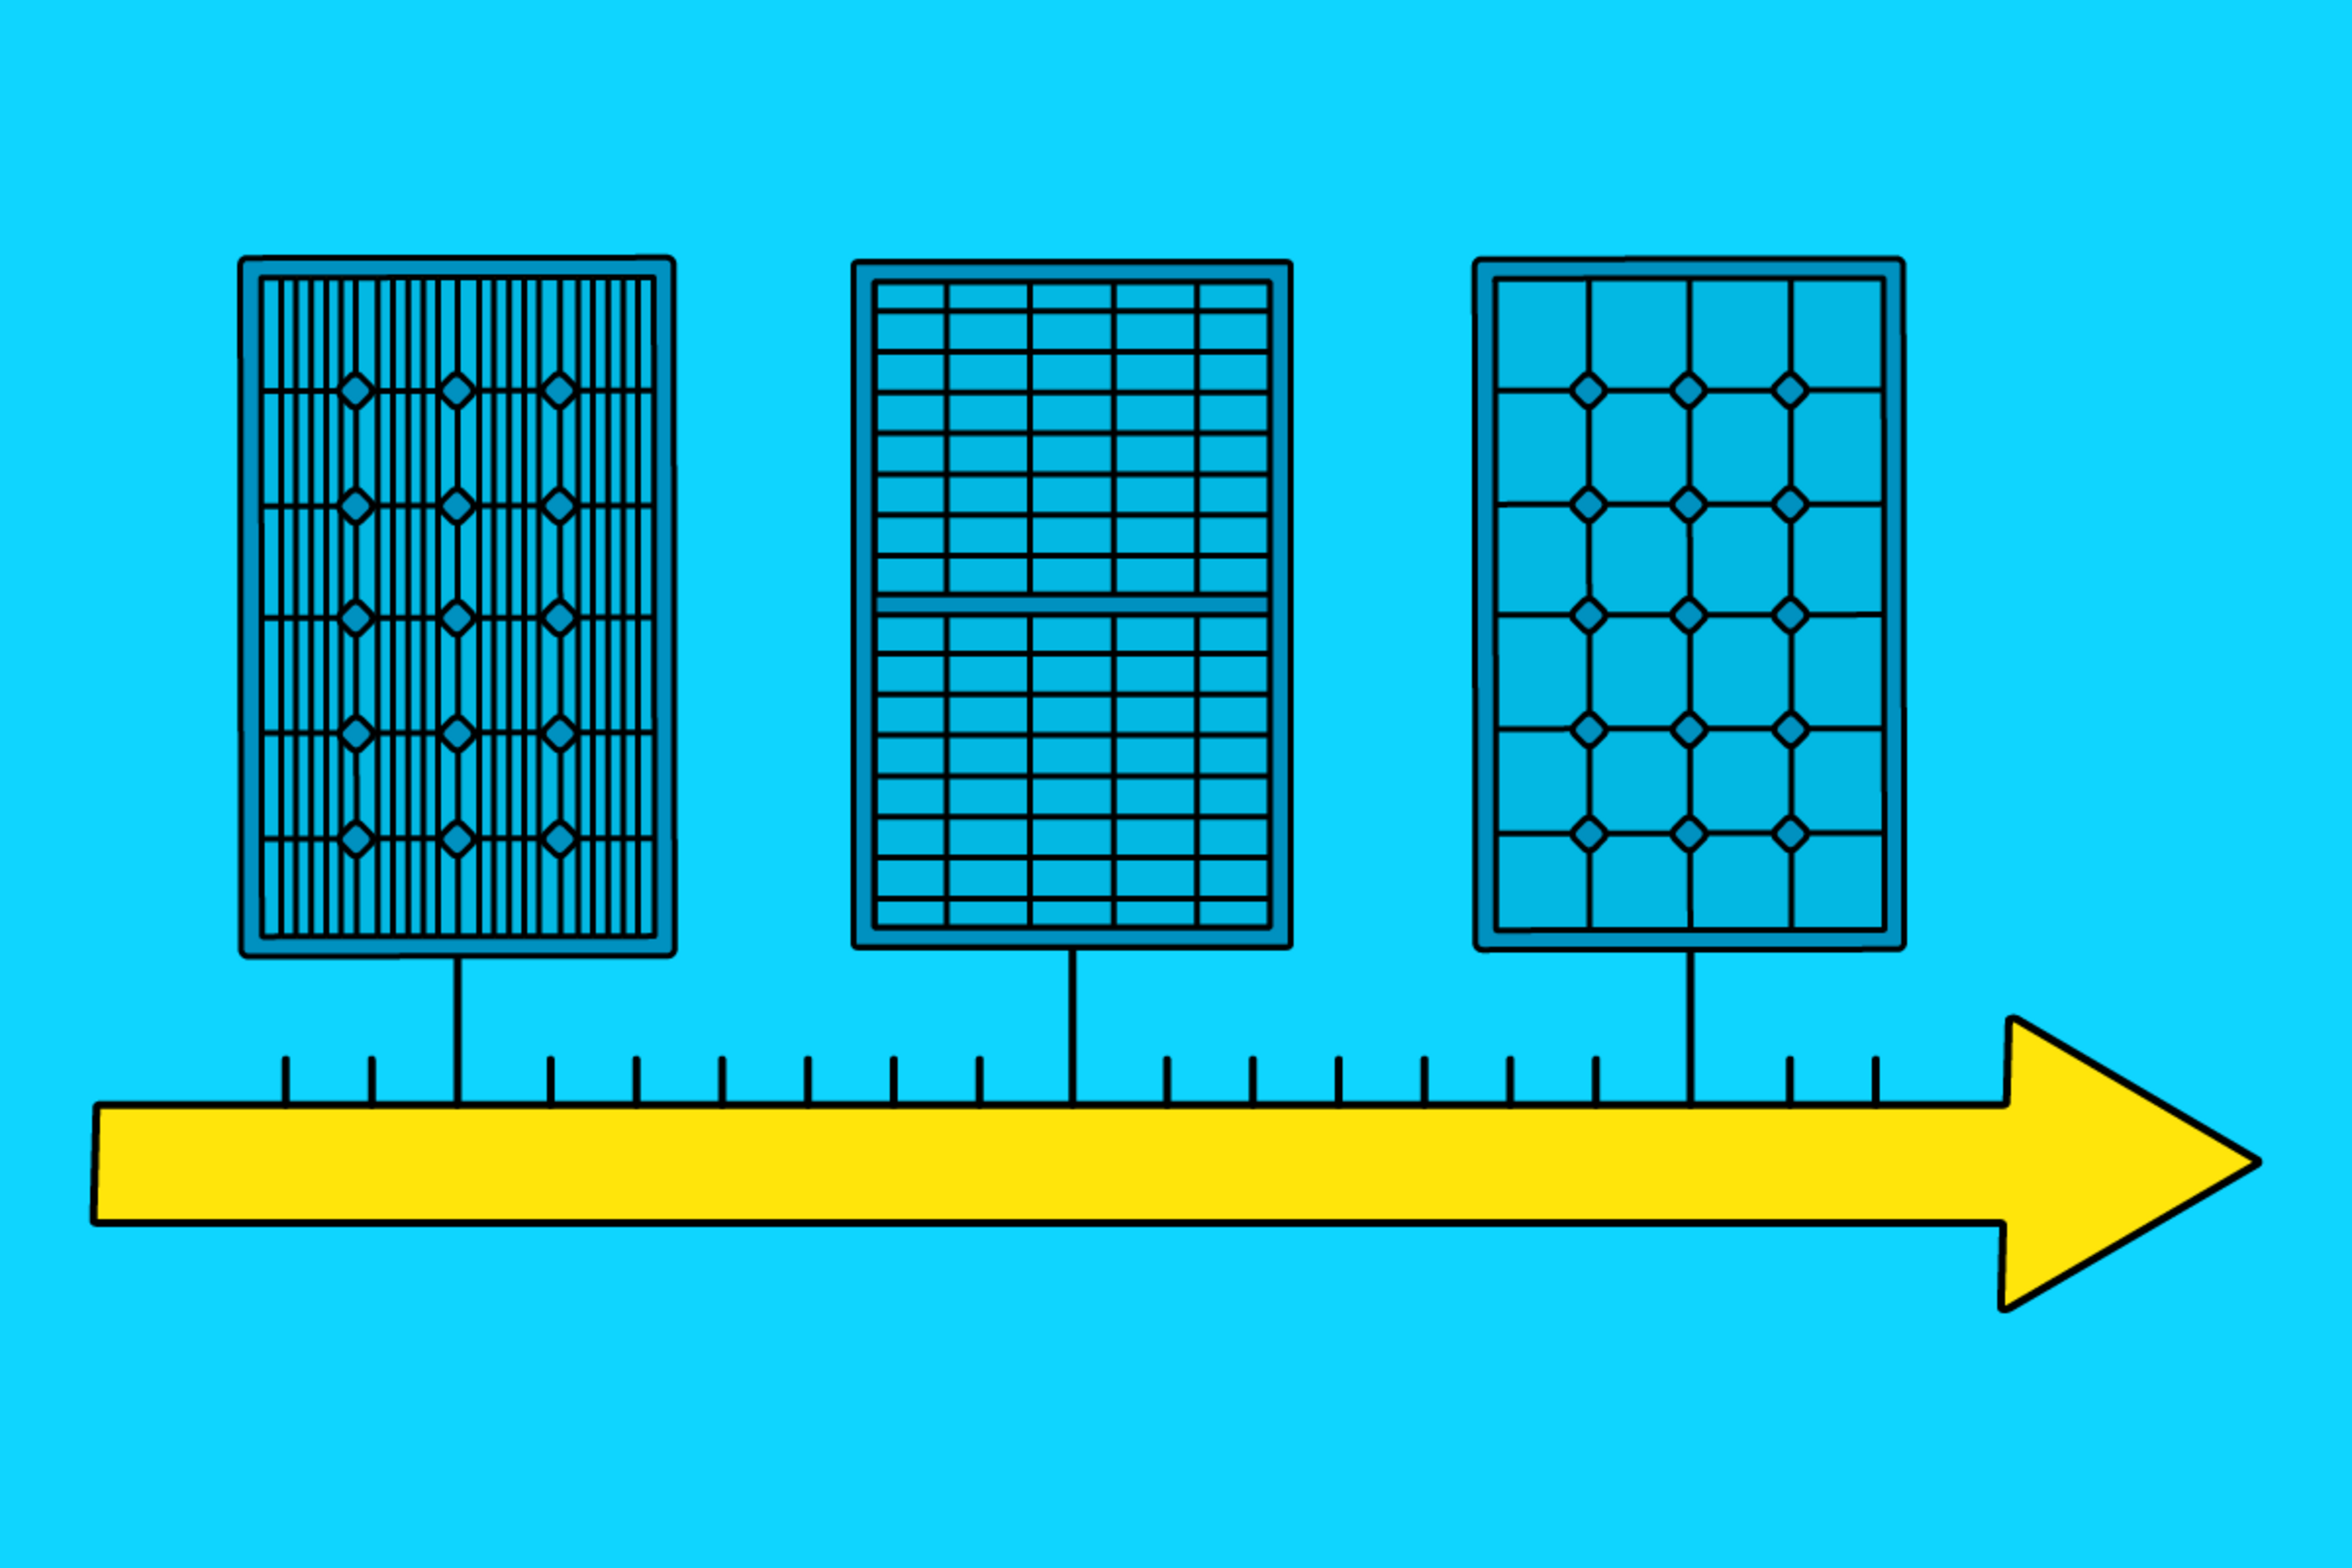
Between 2000 and 2012, Germany experienced the first solar boom in its history, with more than 8 gigawatts of new installations. During this period, many Germans chose photovoltaic (PV) systems to save money and reduce CO2 emissions. After 10, 15 or even 20 years of use, these systems often need to be upgraded. While 240 Wp solar modules were standard in 2010, modern modules now offer 440 Wp or more. Solar repowering is becoming increasingly important for the energy transition, as it increases the share of renewable energy in the energy mix through efficiency improvements without the need to install new PV systems. But what exactly is repowering?
What is repowering?
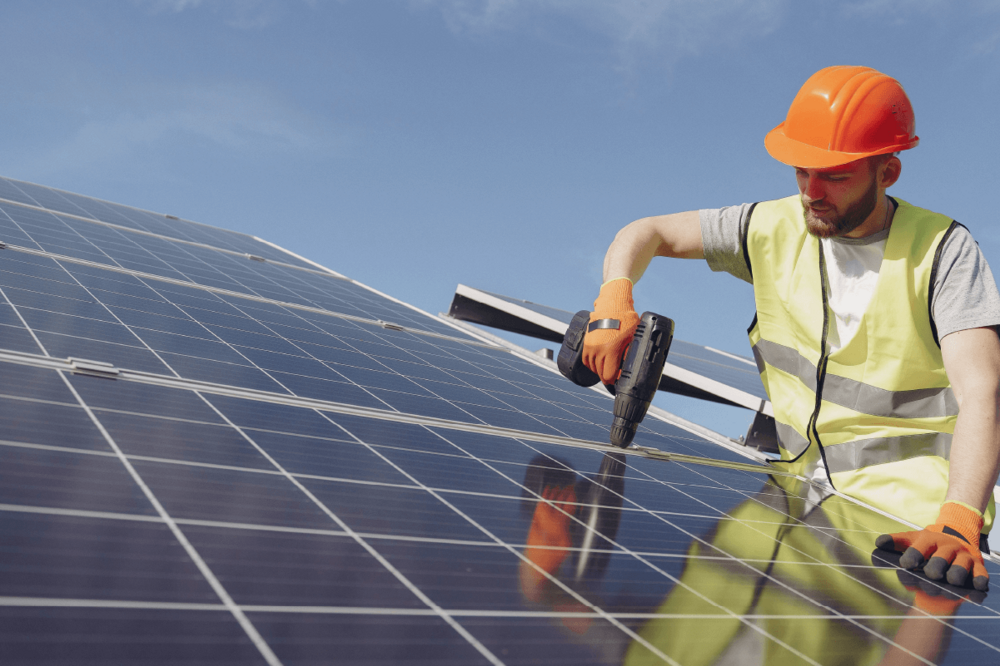
Repowering is the process of restoring a photovoltaic (PV) system to full, or even greater, efficiency. This can be achieved in a number of ways: Firstly, regular cleaning of the system is essential - ideally every 2 years, but at least every 5 years for the systems you manage. Next is a 'revitalisation' process, which involves a thorough inspection and cleaning of all components and replacement of any necessary accessories. Full repowering goes a step further by upgrading and modernising the core components of the PV system. This may involve replacing outdated solar panels, inverters or other key components with newer, more efficient models.
It's all about replacing old or faulty components with new ones. This not only makes the system more efficient, but also safer for materials and people. It also ensures that the system works at full efficiency, which is good for your wallet, the environment and the grid through increased self-consumption.
Repowering has three stages:
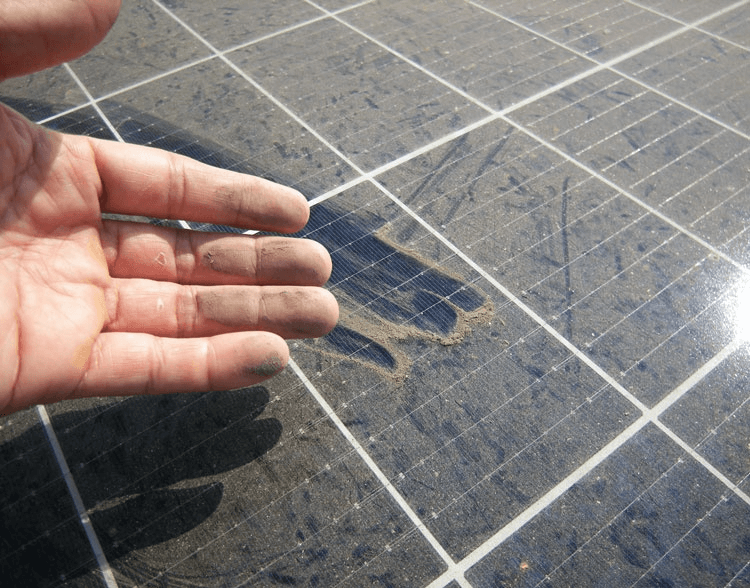
- Cleaning: Even a simple cleaning of the modules can noticeably improve efficiency.
- Partial replacement: Replacement of individual components, such as defective modules or inverters.
- Full replacement: Completely new modules and inverters for maximum efficiency.
Checklist: 10 steps to a repowering decision
This 10-step checklist will help you systematically assess the repowering needs of a photovoltaic system and make informed decisions about your next steps:
1. Check module power
The first step can be done from the office, thanks to data monitoring from the inverter or energy management system: Compare the PV system's current yield with past results and expected yields. Use online yield prediction tools to compare your system's output with similar systems in your region. Look for discrepancies in the power output of individual modules - these could indicate dirt or damage affecting the entire string.
2. Inspect the modules for damage:
Inspect the modules for cracks, breaks, discolouration, dirt, etc. It's important to pay particular attention to corrosion on the module frames, as this can pose a safety risk to the system and potentially allow water to enter the system.
Next, use an infrared camera to identify thermal weak spots in the modules. Extremely hot spots indicate damage within the module. Hot spots increase resistance in the string, reducing energy output and posing a long-term fire risk. Conversely, extremely cold spots or modules indicate that individual cells or the entire module may no longer be functioning.Check the orientation and tilt of the modules
3. Check the orientation and tilt of the modules
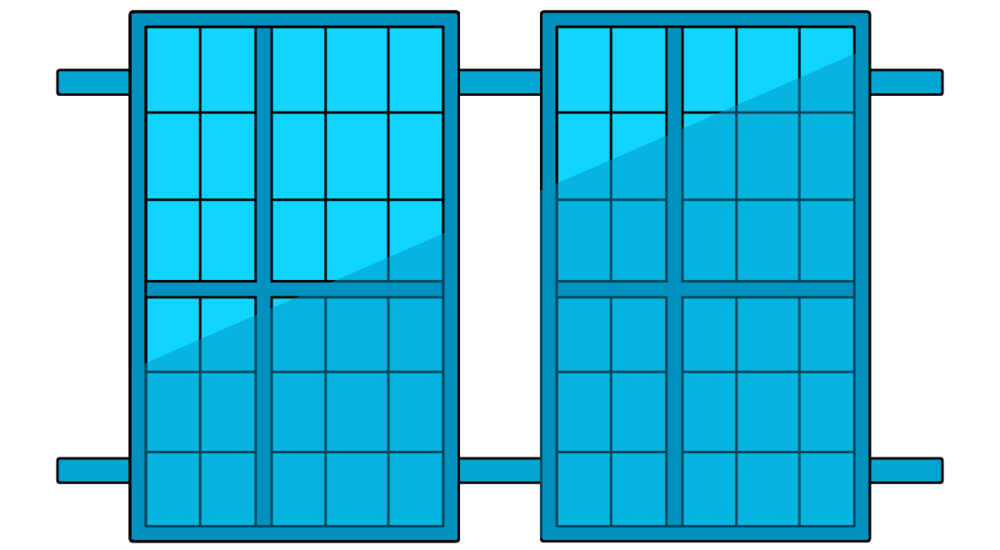
Analyse the orientation and tilt of the modules in relation to sunlight exposure. You should check if the modules have lost power over time due to shading: New trees or buildings in the vicinity can cause a photovoltaic system to perform less optimally.
You can then optimize the orientation and tilt of the modules, but this may require reinstallation. Another option is to install module optimizers that bypass shaded modules.
4. Identifying string problems
Inspect the strings for damage, abrasion or UV exposure. Then measure the voltage drop across the strings. If you find defective or affected connectors, you should rewire them.
AC installation cables, DC solar cables and connectors.
5. Grounding test
In this step, measure the ground resistance of the system as you did during the initial installation. Ensure that the earthing system complies with current standards. In the low-voltage range, DIN VDE 0100-540 is particularly relevant. It currently requires earthing cables with a diameter of at least 6 mm².
Earthing cables and equipotential bonding bars.
6. Surge protection check
Once the grounding test has been carried out, the surge protection devices must be checked. Perform a functional test on them: If they are not fully functional, replace them immediately. If the devices are still functional, you must ensure that they are still suitable for the size of the system. The relevant standards are DIN VDE 0100-443 and DIN VDE 0100-534.
All you need for surge protection
7. AC side wiring
Inspect the AC side wiring for damage, kinks, chafing and direct UV exposure. Prolonged excessive UV exposure can cause the cable insulation to become brittle. Next, check the connections in the inverter and fuse boxes and replace any old or damaged cables. When inspecting and replacing cables, ensure that the cable cross sections are adequately sized: If the cables are too thin, they can become a bottleneck for the yield of the PV system. A minimum of 5x4 mm² should be used.
8. DC side wiring
Now focus on the DC side: Inspect the DC solar cables for damage, chafing and UV exposure, just as you did with the earthing and AC cables. Don't skip any connections: You should check the cable connections at the modules, string combiners and inverters one by one. Then check the connectors for correct and watertight crimp connections.
9. Natural factors
When inspecting the modules and wiring, there are additional factors you should consider:
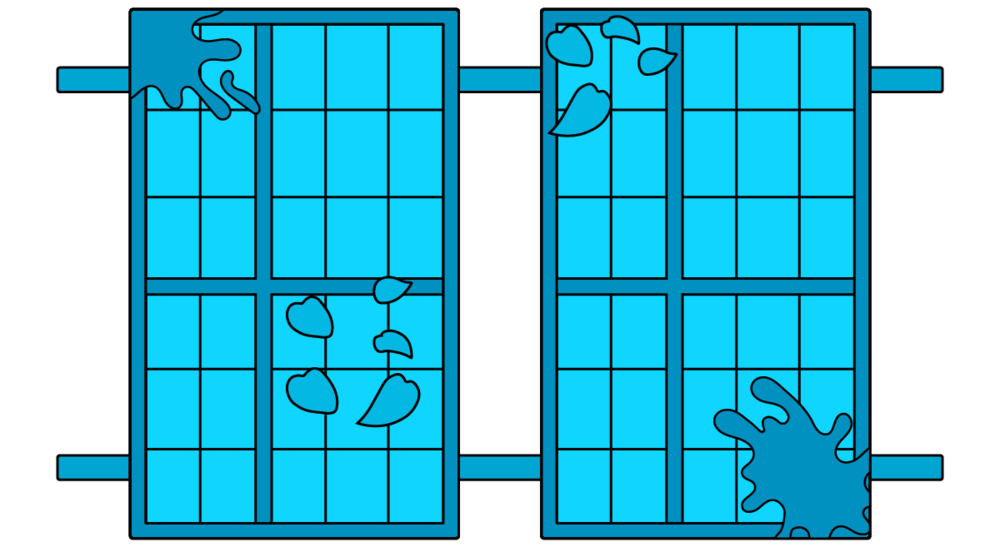
- Moss Growth: Check the modules for moss or algae growth, which can impair output of the modules. Clogged drains in the module frames can particularly lead to moss growth. A simple cleaning can help in such cases.
- Leaf accumulation: Even if a tree doesn't directly shade the modules, falling leaves can accumulate on the modules - especially if they are slightly tilted. Even a single wet leaf stuck to the module surface can shade several solar cells in the module.
- Animal damage: DC-side solar cables are particularly susceptible to damage from animal bites. Check the cables for bite marks or holes in the insulation and replace if necessary.
10. Which type of repowering is right for you?
The first 9 steps will help you decide what type of repowering is needed. If you find that simply cleaning the PV system or replacing individual cables isn't enough, or if your customer wants more PV power - for a wallbox or heat pump, for example - then it's time to go one step further: repowering by replacing the modules and inverters. You should consider these 3 factors:
- Inverter:
Evaluate the age, power and size of the inverter. If you find that the inverter has no spare capacity, you can replace it with a more powerful model or design the new system to deliver the same kWp output as the old modules. This would free up space on the roof because fewer modules would be needed - for example, 11 modules of 440 Wp have roughly the same total output as 20 modules of 240 Wp. This allows you to expand the system in the future. - Expansion potential:
Speaking of expansion: If customers want to use more solar power, you may need more space. You should therefore check whether the roof or the property has space for additional modules. - Increased self-consumption:
Analyse electricity consumption and assess whether it would be beneficial to expand the system to increase your self-consumption. Consider potential future investments such as heat pumps or wallboxes. Our independence calculator can help.
Conclusion
Repowering can make a photovoltaic system significantly more economical and efficient. Whether repowering is worthwhile depends on a number of factors. The more we use electricity for heating and mobility, the more important it is to keep an eye on old systems - because repowering makes an important contribution to the future of energy.
Summary
- Repowering involves the modernisation of photovoltaic systems by cleaning, replacing individual parts or completely replacing the modules and inverters.
- Repowering increases the efficiency of a PV system, improves safety and can significantly increase the self-consumption rate for operators.
- You check the need for repowering using our checklist and determine what type of repowering a system requires.

